

Keeping your kitchen exhaust fan clean is crucial for maintaining a fresh and safe cooking space. Over time, grease and grime accumulate, reducing efficiency and increasing fire risks. Follow these five easy tips to keep your exhaust fan in excellent condition.
Grease buildup in the exhaust fan can become a serious fire risk if not addressed. When heat from cooking interacts with accumulated grease, the chances of ignition increase. Regular cleaning helps prevent hazardous grease accumulation, ensuring a safer kitchen environment.
A clogged exhaust fan struggles to eliminate smoke, odors, and airborne grease particles. This affects indoor air quality and can result in lingering smells. Keeping the fan clean ensures proper ventilation and a healthier cooking space.
Contact us for high-quality cleaning products
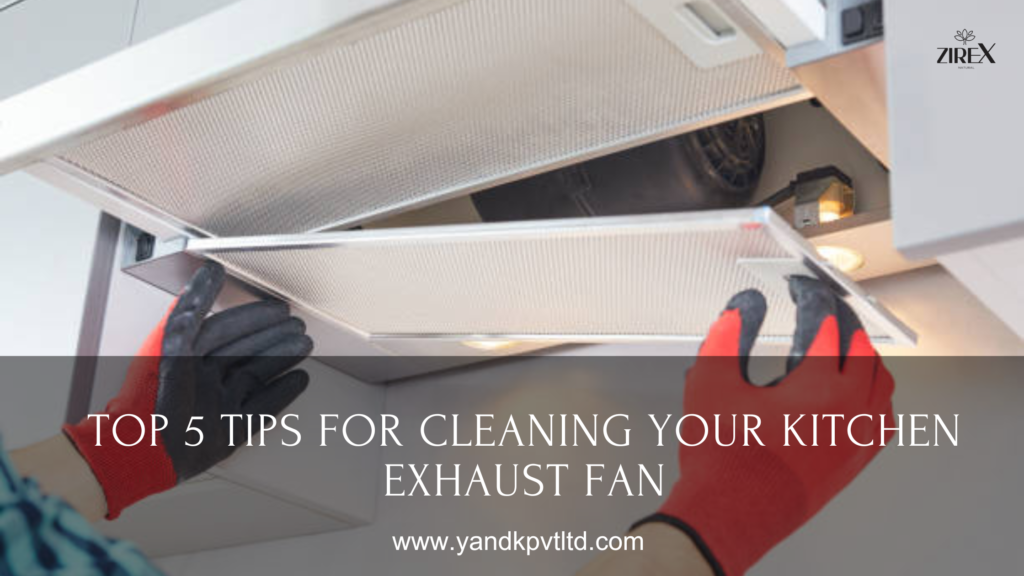
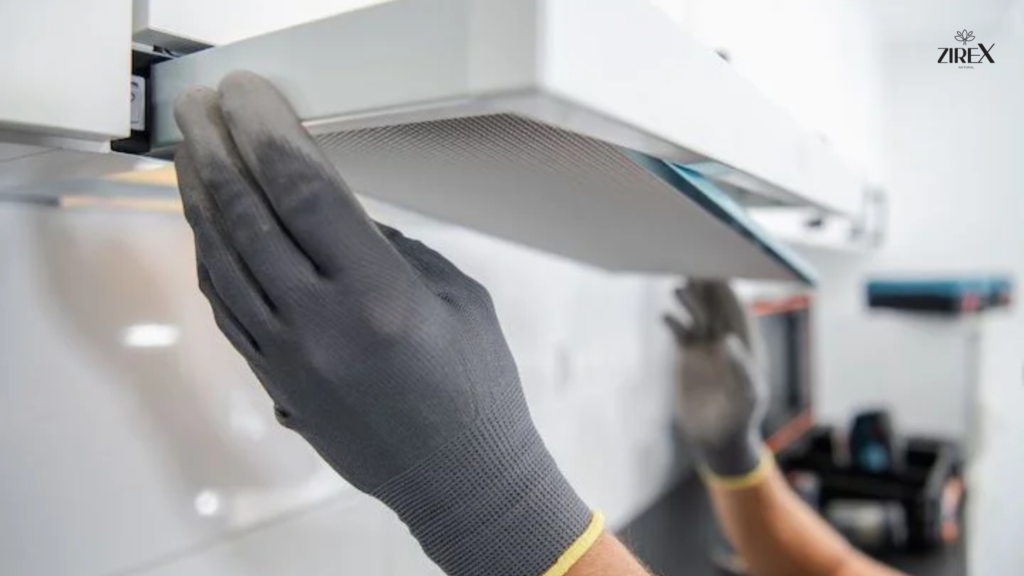
Before cleaning, always unplug or turn off the exhaust fan. Removing the fan cover and blades allows for a more thorough cleaning.
Use a screwdriver to detach the fan cover. Carefully remove the blades and place them in a sink or basin for cleaning. This step helps you reach hidden grease deposits that may not be immediately visible.
A grease-cutting solution is essential for effectively breaking down stubborn residue.
Choose a commercial degreaser, a mixture of vinegar and baking soda, or dish soap with warm water. Spray the solution generously on greasy areas and allow it to sit for a few minutes to loosen the grime.
Why You Should Switch to a Safer Dishwashing Liquid
Submerge the fan blades and cover in hot, soapy water for at least 15 minutes. This helps dissolve built-up grease and simplifies scrubbing.
For hard-to-remove spots, use a scrub brush or an old toothbrush. Pay special attention to crevices where grease tends to accumulate. If necessary, apply a second round of degreaser and continue scrubbing.
The exhaust duct and vent play a key role in proper airflow. Keeping them clean helps prevent blockages.
Inspect the duct for any grease buildup or obstructions. Use a vacuum cleaner with a hose attachment to remove dust and debris. If the vent is heavily soiled, professional cleaning may be required.
Once all parts are clean, drying them thoroughly is crucial to prevent rust and electrical issues.
Before reassembling, ensure each component is completely dry. Wipe down the motor and surrounding areas with a dry cloth. Once everything is in place, switch on the fan to confirm smooth operation.
Regularly maintaining your kitchen exhaust fan improves air quality, prevents grease buildup, and reduces fire risks. By following these five simple steps, you can ensure your fan remains efficient and safe for everyday use. Establish a cleaning routine to maintain peak performance and enjoy a fresher kitchen environment.